JR2WAV Editor is a WAV file editing tool designed to analyze cassette tape audio for the JR-200, perform noise reduction, waveform shaping, and restore data. You can proceed with editing while checking whether it can be converted to CJR format at any time.
This manual explains the functions of each screen area, the purposes of the menu commands, and specific operating procedures.
System Requirements
Windows 10/11
.NET 8.0 or later
Download
https://github.com/find-jr200/JR2WavEditor
First, download JR2WavEdxxx.zip (which does not include WinRT-related DLLs). If it does not work correctly, download JR2WavEdxxx_withWinRTDLL.zip (which includes WinRT-related DLLs).
Techniques for Successful CJR Conversion
- Once you load a WAV file, first try executing "Tools" -> "Convert to CJR".
- If that fails, try applying the BPF (Band-pass Filter).
- If it still fails, restore the state to immediately after loading and try Automatic Waveform Shaping.
- If it still fails, try a combination of methods, starting with BPF + Automatic Waveform Shaping.
- If it still fails, try gradually raising the lower bound of the BPF passband from 500 Hz.
- If all else fails, you will need to manually modify the waveform (Replace Selection with Waveform, Replace Selection with Value, Anchor Editing).
* Successfully converted blocks will display their names, but if there is any failed portion, it may not process correctly. Please use this as a general guideline.
Cautions
If you want to convert to CJR, please try JR2Rescue first. If that fails, try JR2Wav Editor.
WAV files recording special formats can be edited but cannot be converted to CJR.
JR2 conversion is also not supported. Please use JR2Rescue.
Screen Layout and Functions
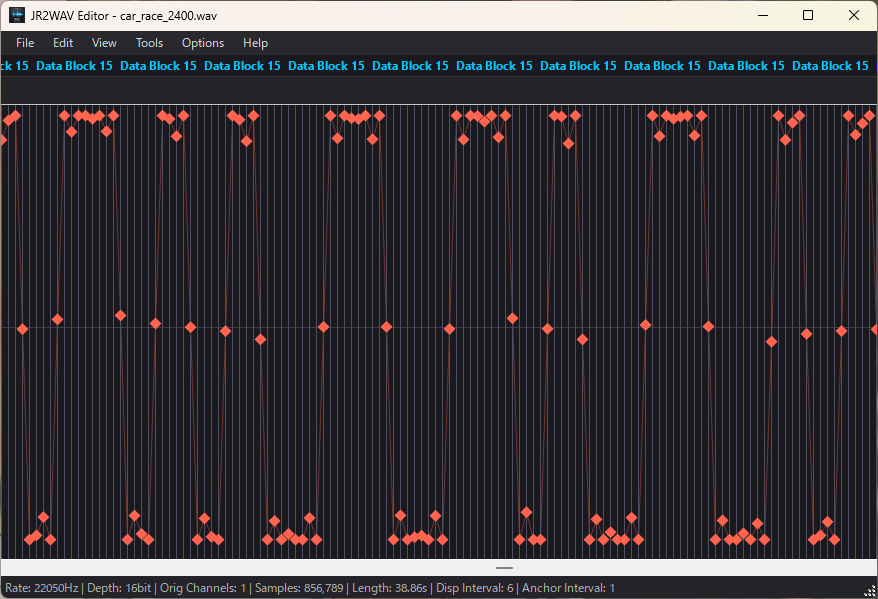
Block Name Display Area
Analyzes the data structure in the WAV data and displays the type and position of program components (blocks) on the timeline.
Displayed Blocks
- Header Block: The starting block containing the program name, size, and baud rate information.
- Data Block (1 to N): The actual segmented program binary data.
- Footer Block: The block indicating the end of the data.
Time Ruler
A ruler showing the passage of time for the waveform. Tick marks are placed every 10 milliseconds (msec), and numbers indicating seconds are displayed every 1 second (sec).
Features
- Tick mark rendering is automatically synchronized according to the horizontal zoom (display interval).
- Allows you to accurately read the time of specific audio locations in milliseconds.
Waveform Panel
The main operation area where you visualize and directly edit WAV data waveforms sample-by-sample, and select editing ranges.
Operation Methods
- Anchor Editing: Drag points (anchors) on the waveform up and down with the left mouse button to directly modify sample amplitudes.
- Range Selection: Left-click to place the start point (red triangle). Drag or Shift+click to set the end point (blue triangle) and select a range (light yellow background).The start and end points can be moved by dragging.
- Deselection: Left-clicking clears the selection, and the clicked position becomes the new start point.
Scroll & Status Bar
Performs overall movement and monitors file meta-information.
Components
- Horizontal Scrollbar: Scrolls the waveform display position from start to end.
- Status Bar: Constantly displays sampling frequency, bit depth, channel count, total samples, total duration, and current display/anchor intervals.